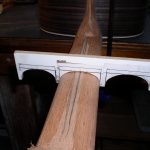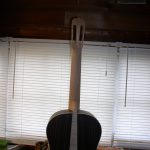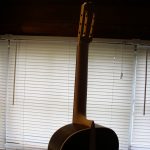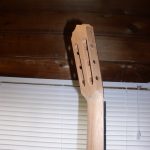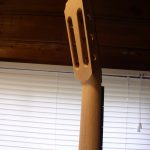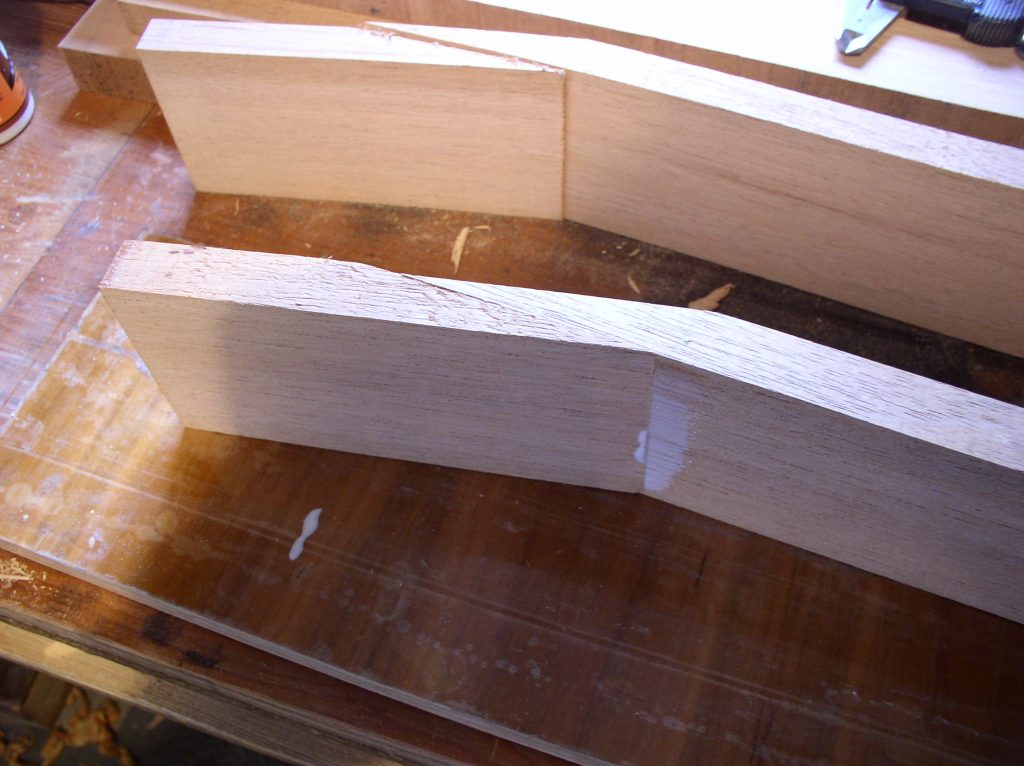
A V joint
The V Joint. It’s a sort of show-off joint. It adds time to the construction of the guitar for sure. The alternative scarf joint is certainly easier and quicker. However, the V Joint is, well… sexier, and challenging.
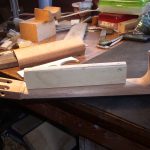
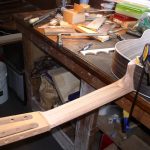
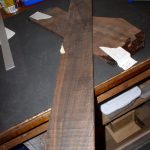
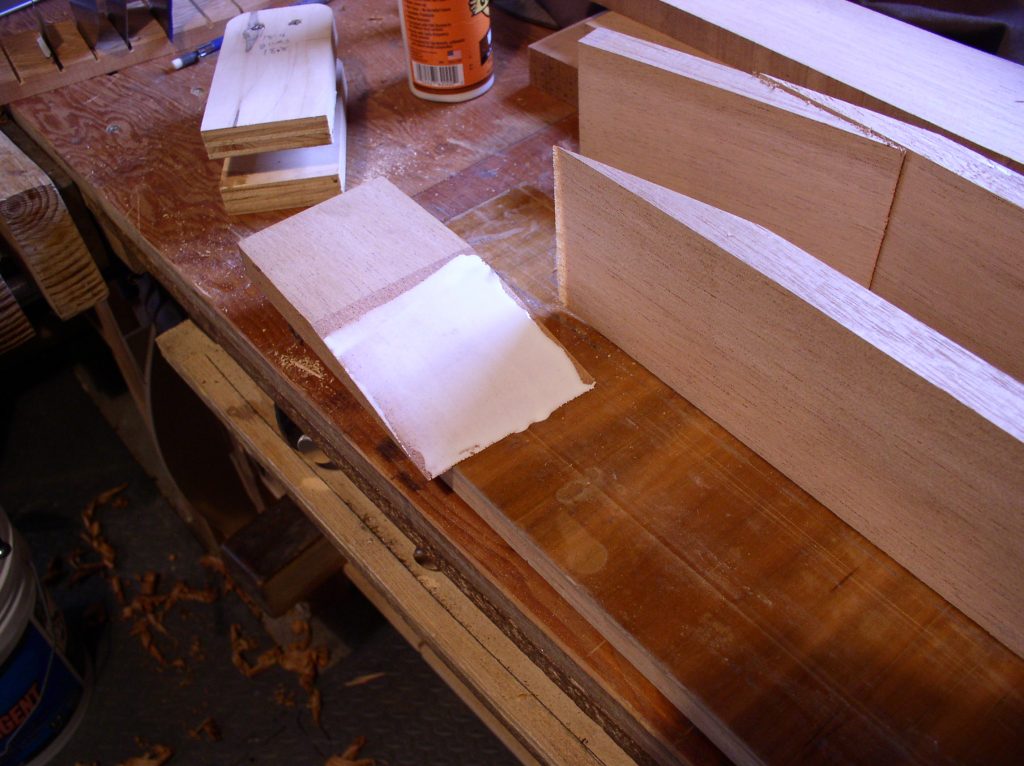
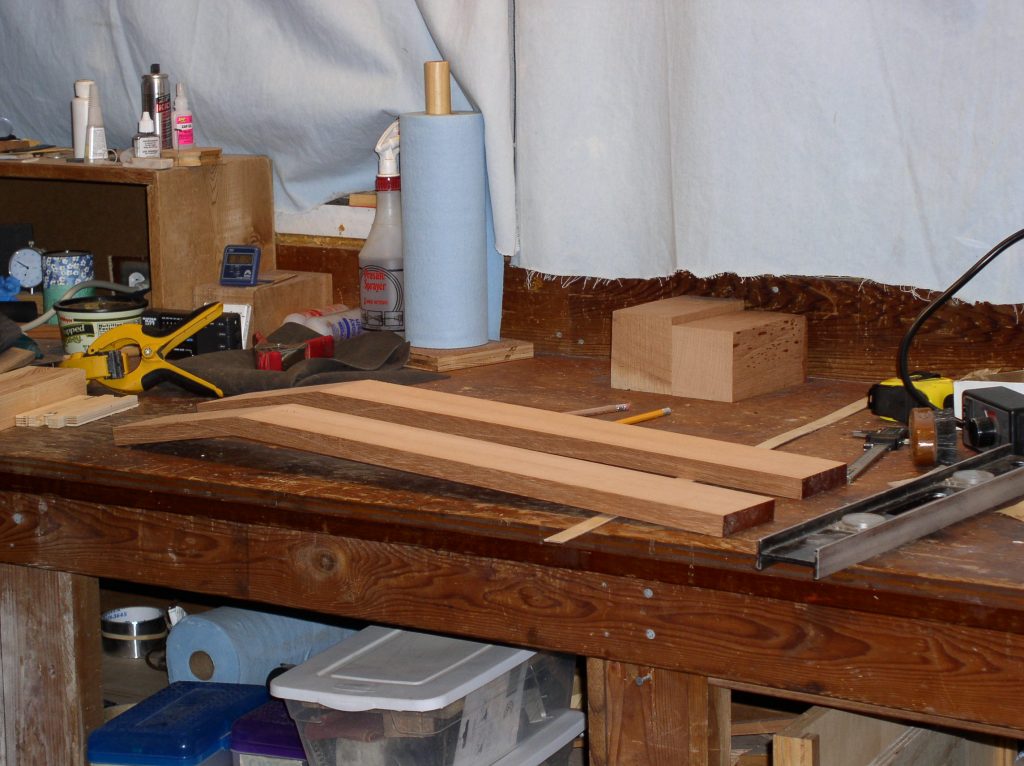
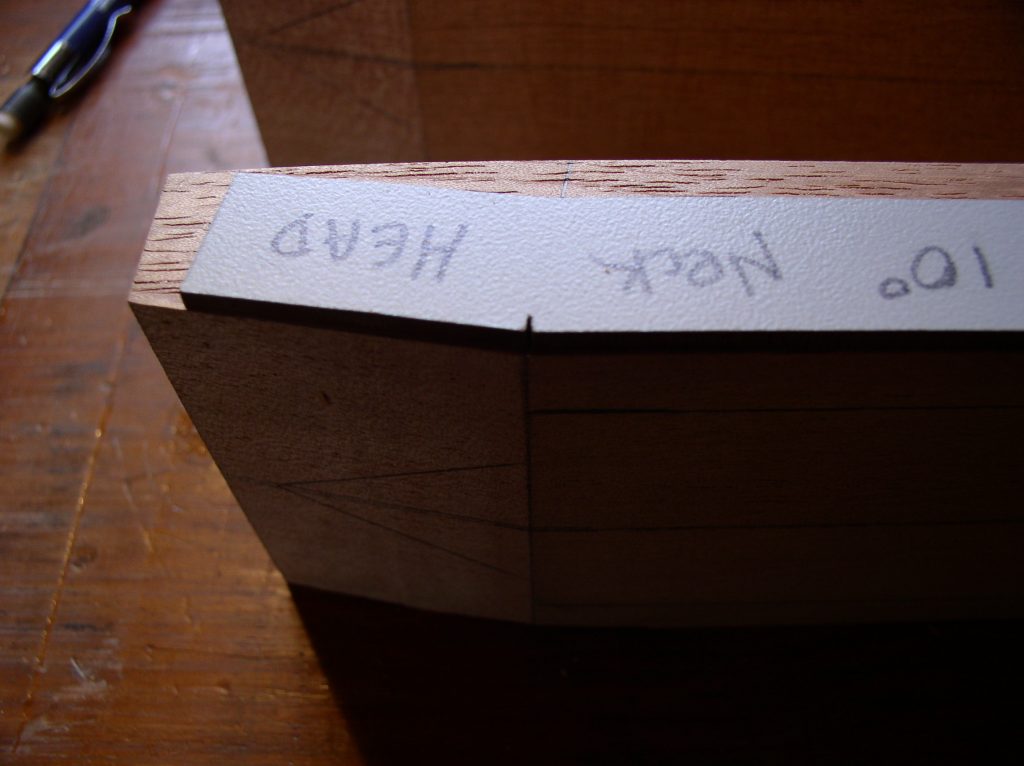
Everything needs to be planned. The V has to fit, the shoulders must touch, the angle for the head needs to be set. It starts with the angle of the head. Here are a couple necks with a 10 degree angle.

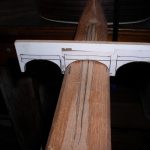
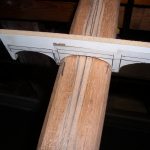
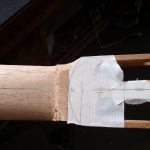
Then, a centerline is drawn.


Next the V is drawn on the slant, centered of course on the centerline.
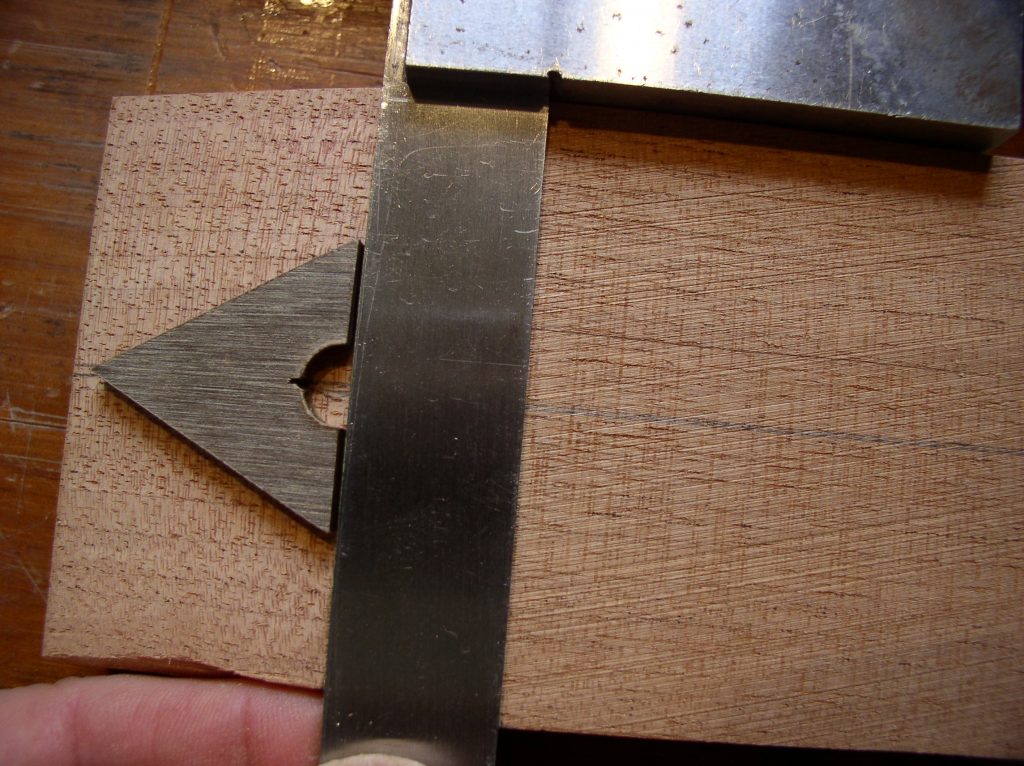
The places where the joint will be are marked with pencil and then knife.
Then rough cut near to the line with a saw. Trimming to the line will be done with files, chisels, and knifes. Mostly chisel work. After doing both sides neck and head, top and bottom, male and female, yin and yang, I start fine fitting.
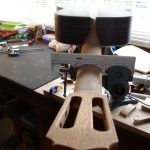
Here I’m test fitting; making sure that the joint fits, and the edges of the head and neck align and mugging for the camera. I’m so vain. Perhaps that’s why it’s called the V joint.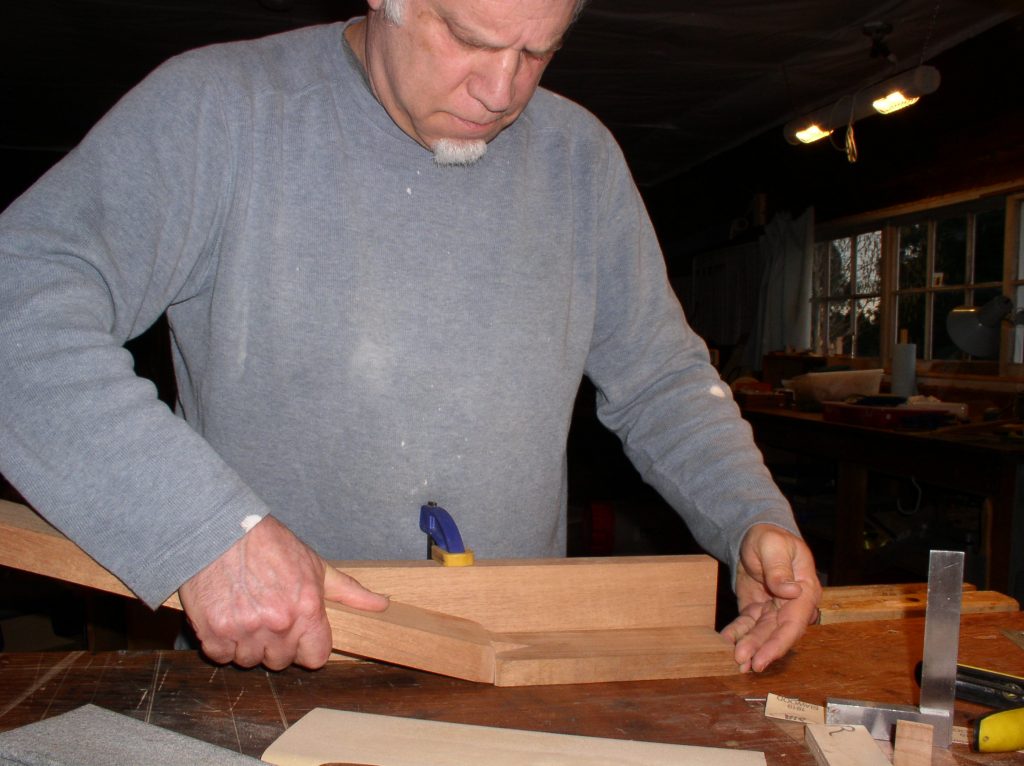
Yep. Looks aligned nicely. 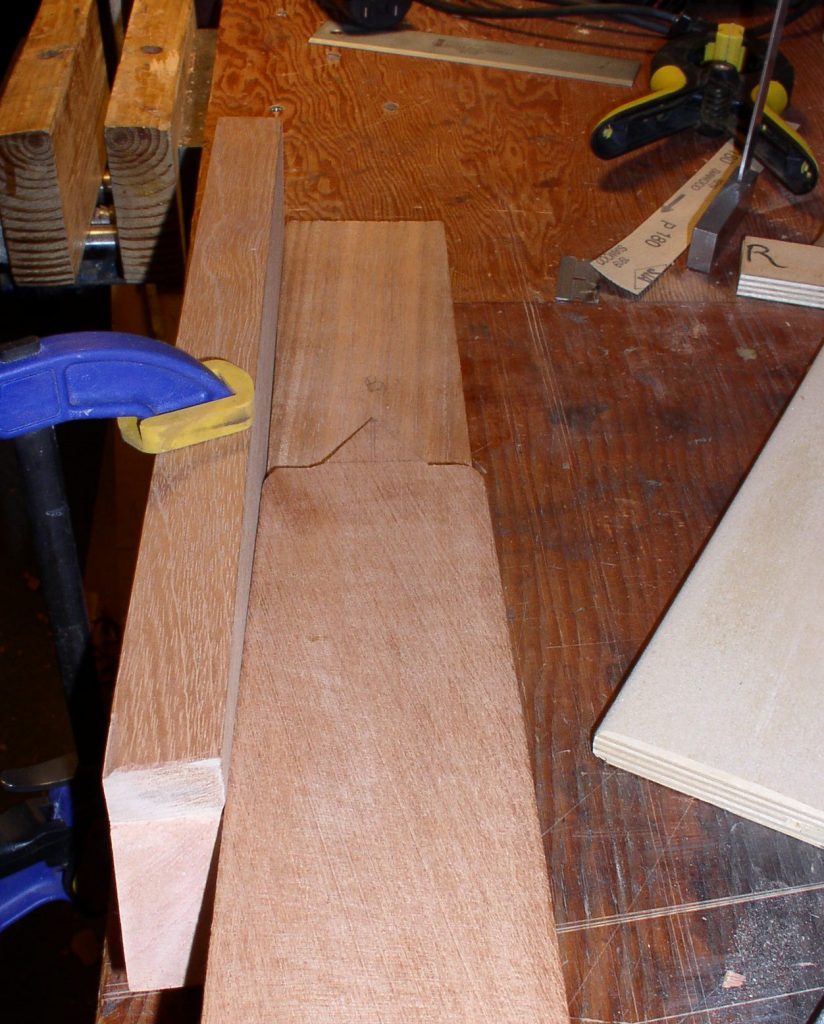
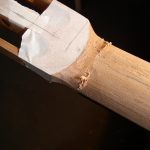
Let’s look at the joint. Pretty good fit. A little nick near the vertex of the V. 🙁
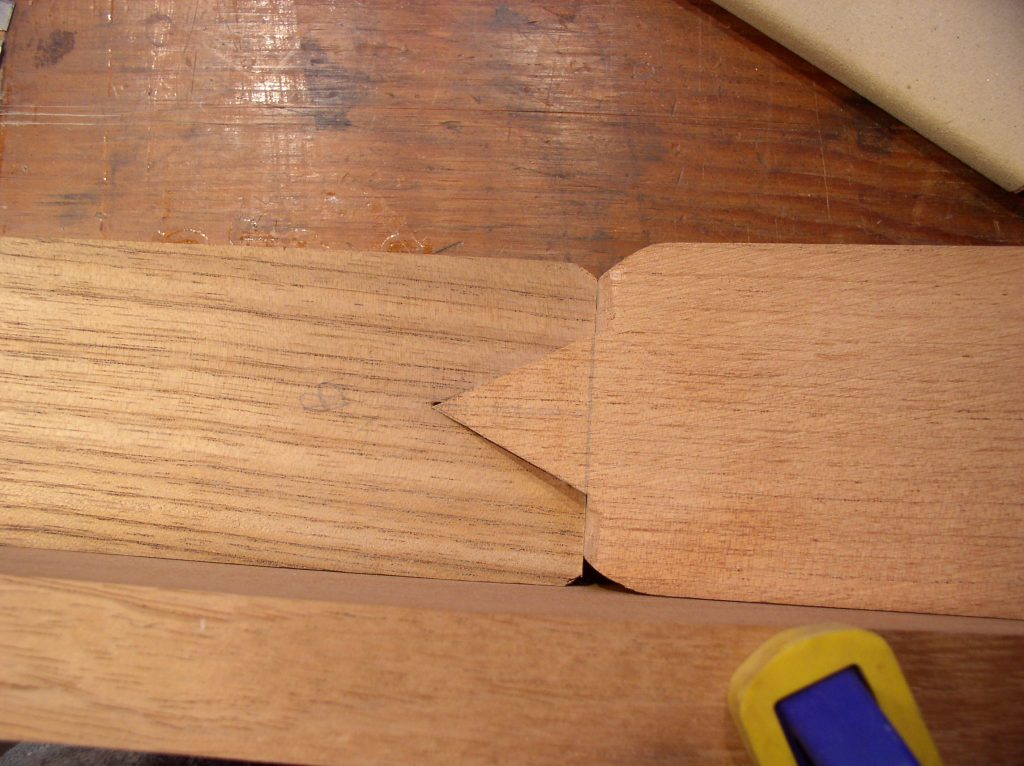
The shoulders kiss.
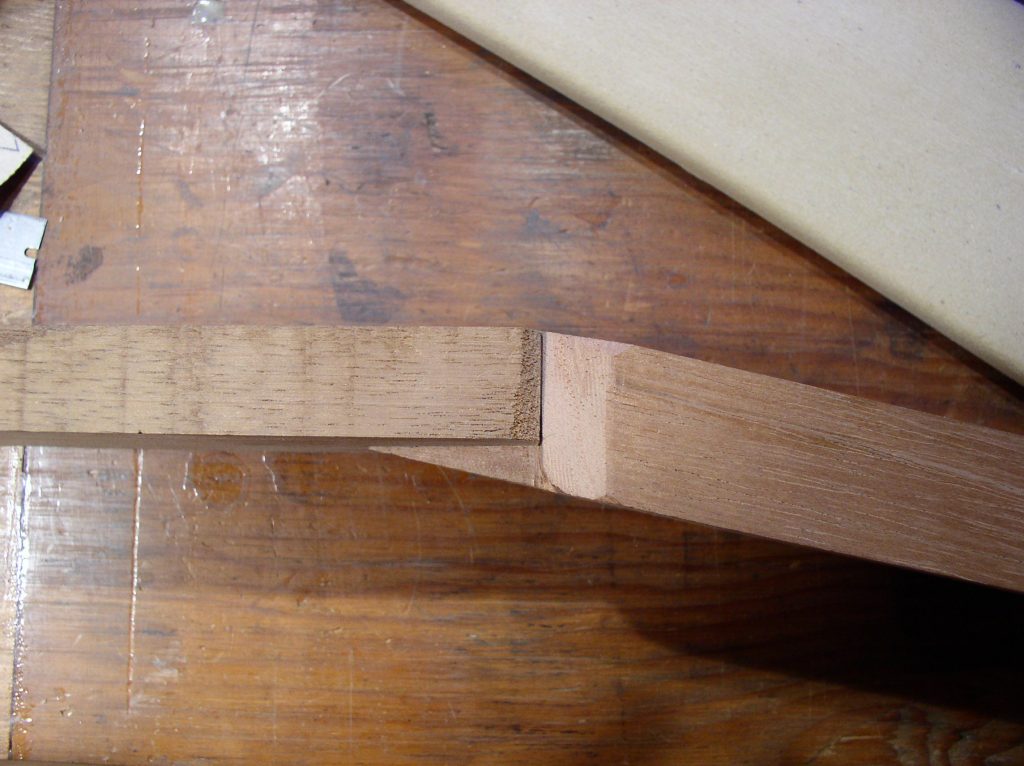
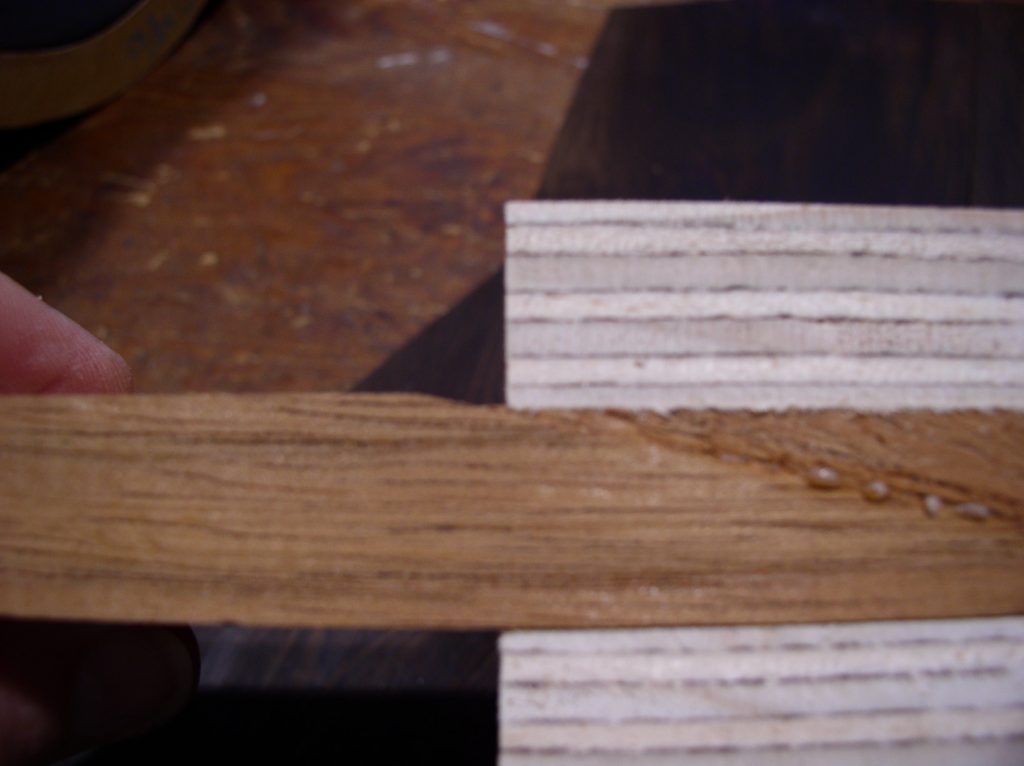
But it needs to be tight! No light can come through. So I hold it up to my eye while pressing the joint together to see if light comes through. It is hard to get every part of the joint closed perfectly.
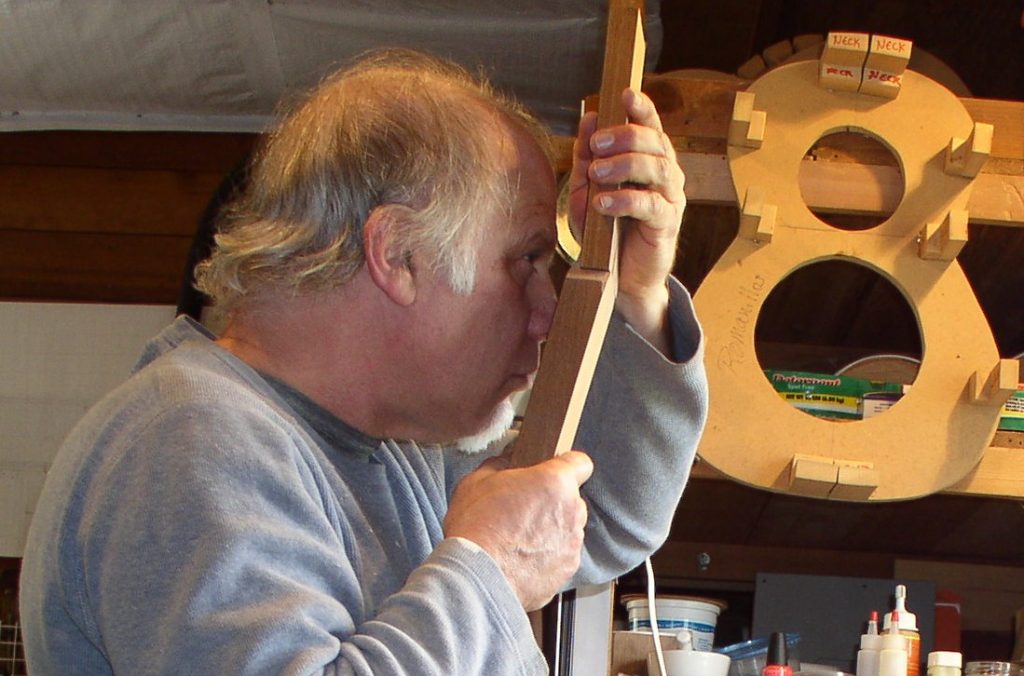
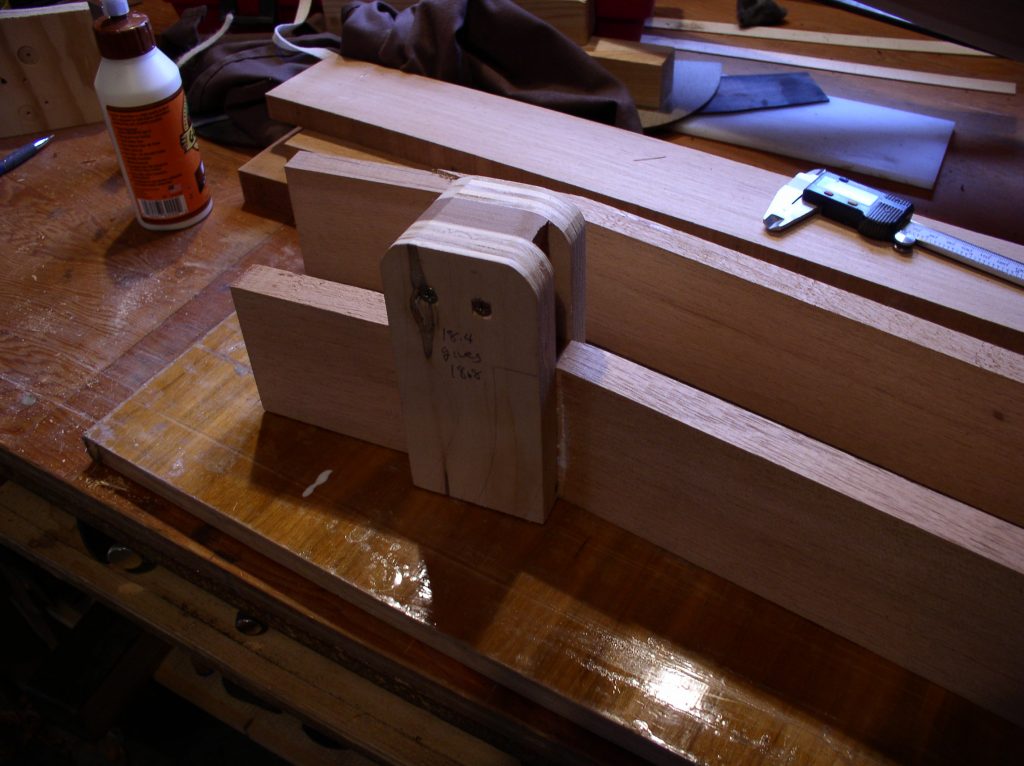
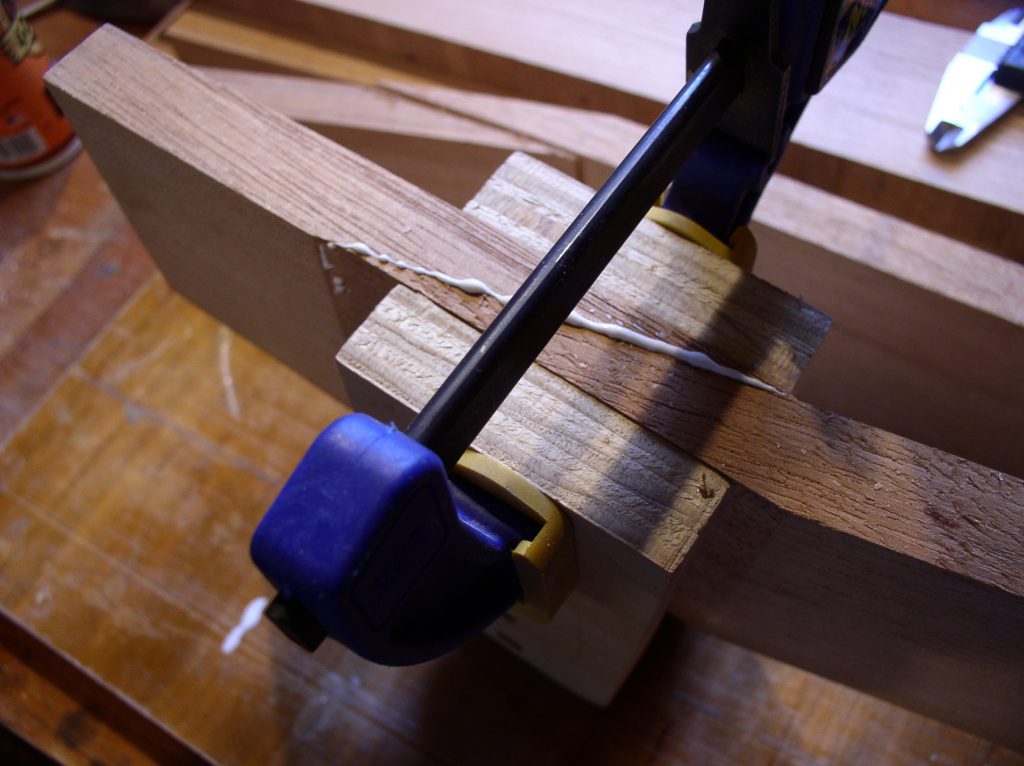
And when it’s ready it gets glued on this jig, which holds the angle while the web clamp draws the pieces together.
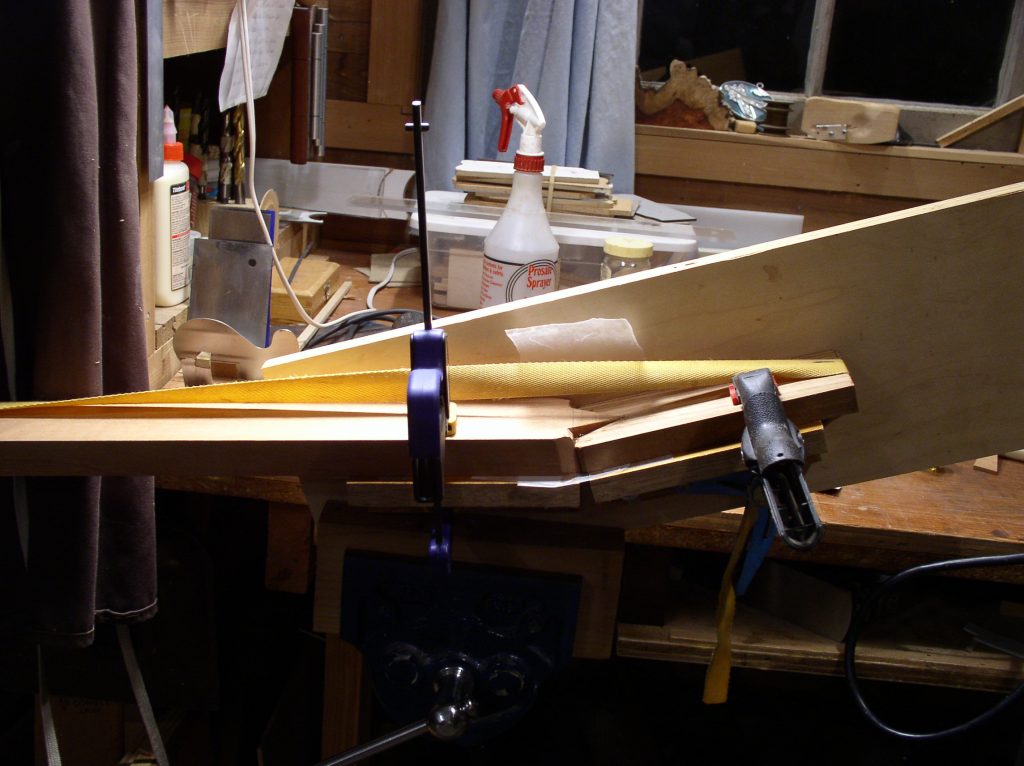
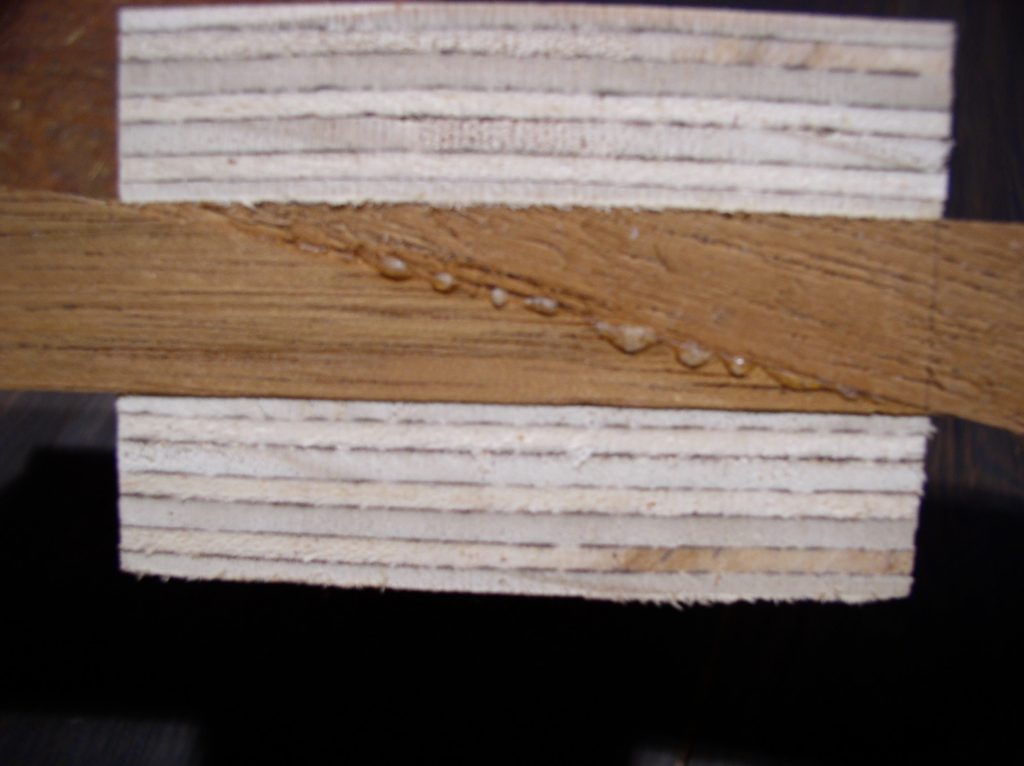
It’s hot hide glue and it squeezes out of the joint. Hide glue draws the pieces together as it shrinks, but it needs the joint to fit really well. The next morning I can unclamp.
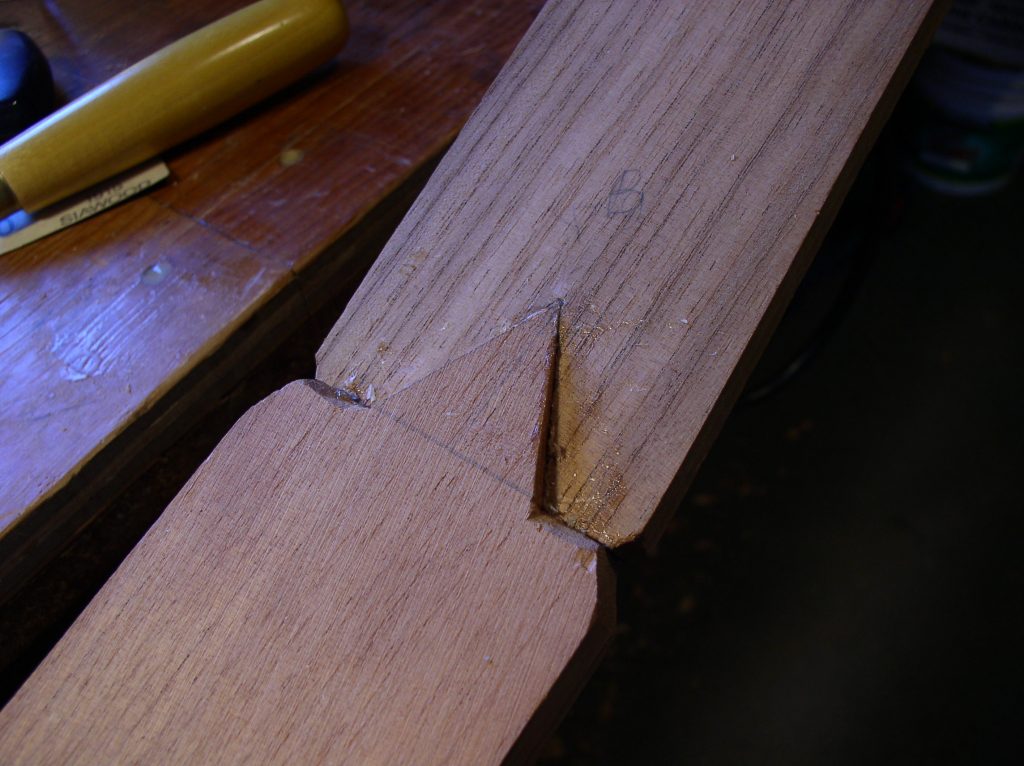
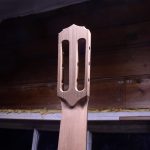
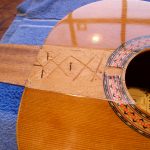
You can see where the glued came out of the joint and the entire area needs to be cleaned up, before it looks like the first picture in this post.

trimmed up V joint
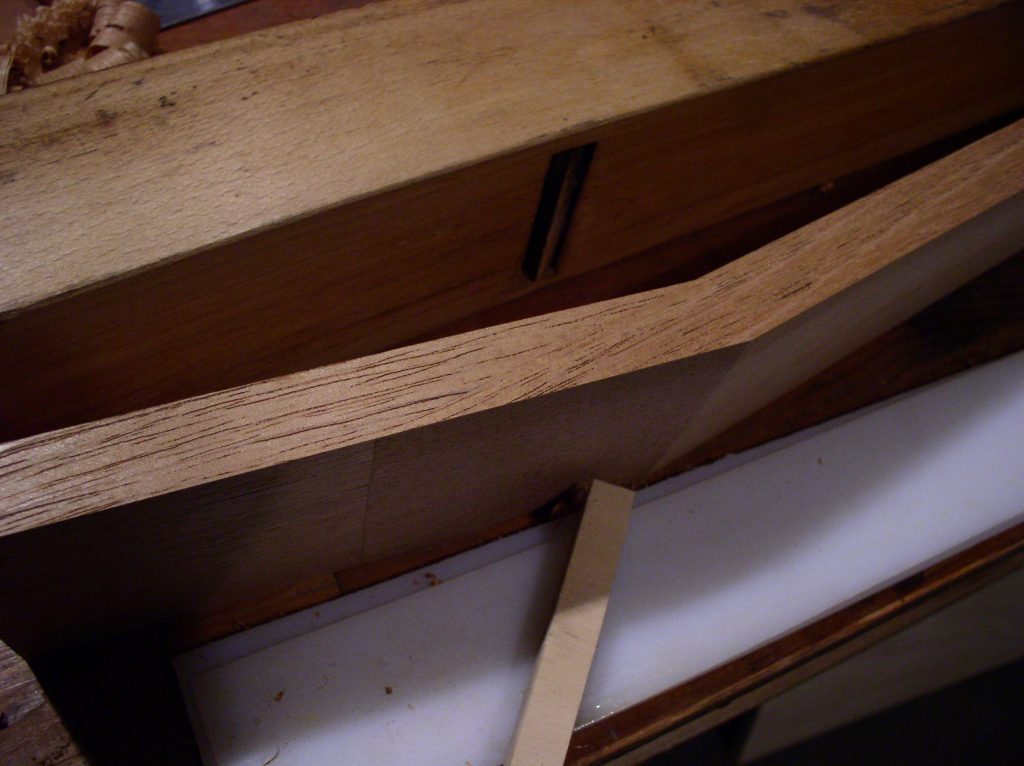
…. so, the above pictures shows the joint after the neck is trimmed to thickness and the volute is now flush with the back of the head.

